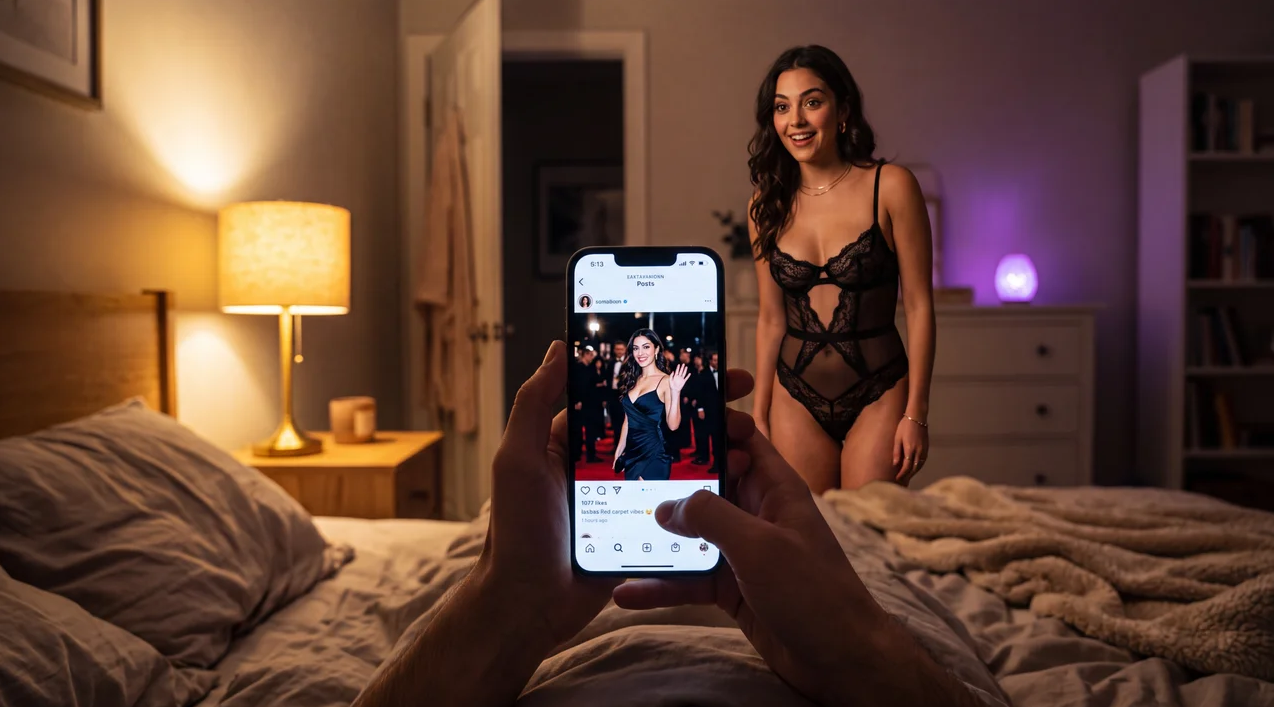
When you upload a photo to image-to-video, the neural network doesn't "invent" movement from scratch. It tries to continue what is already embedded in the frame. Therefore, success depends almost entirely on the initial pose and angle. A poor source yields unnatural facial distortions, strange hands, and "wobbly" anatomy. A good one transforms into a lively, smooth video where breathing, blinking, and subtle movements look truly human.
What actually works in 2026 on SlyGen and similar models.
1. The Ideal Angle — Medium Shot (medium close-up / waist-up)
The most stable option for natural animation is a frame from the chest or waist up. The face occupies enough space for the neural network to maintain identity well, while shoulders, collarbones, and part of the arms are visible. This gives the model room for natural micro-movements: a slight head tilt, shoulder movement during breathing, and a soft turn.
Full-body shots work worse if you want to keep the face perfectly stable. The neural network has to simultaneously maintain the proportions of the entire body, and the face often "wobbles." A close-up (face only) is good for blinking and breathing but offers almost no expressive body language. Practical tip: if the photo was already taken full-body, crop it to the waist before uploading. The result is usually noticeably more stable.
2. Best Body Poses
The neural network handles poses much better where the body is in a relatively relaxed, natural position:
- A slight torso turn of 15–30 degrees (three-quarter view). A fully frontal pose often looks stiff, while a strong profile complicates facial work.
- One hand slightly raised or touching hair/neck/shoulder. This gives the model a clear anchor point for movement.
- Shoulders are relaxed, not raised. Tense shoulders almost always turn into unnatural spasms during animation.
- The head is slightly tilted or turned — this immediately allows for a soft turn.
Avoid:
- Heavily crossed arms
- Poses where limbs heavily overlap the body
- Sharp spinal curves
- Frames where hands or legs are cropped at the joints The less the neural network needs to "figure out" hidden body parts, the more natural the movement becomes.
3. Face Position and Gaze
The face is the most vulnerable spot. To keep it stable:
- Eyes must be clearly visible and not heavily squinted.
- Mouth slightly open or in a neutral position (a slight half-smile works better than a wide smile).
- Avoid strong emotions in the source — they are hard to animate smoothly.
- A gaze slightly off-camera or a soft gaze into the camera works best. Direct, hard contact sometimes creates a "glassy eyes" effect.
The most reliable facial micro-movements:
- Natural blinking
- Light breathing (chest and shoulder movement)
- Barely noticeable head turn
- Soft change in expression (a smile that appears or fades)
4. Camera: What Works and What Breaks
The camera should move minimally and predictably. Best options for naturalness:
- Slow push-in (camera smoothly approaches). Creates a sense of intimacy and almost never breaks the face.
- Fixed camera + object micro-movements. Often looks even more alive than an active camera.
- Slight orbital turn (camera slightly circles the model from the side). Works if the source provides enough space around.
- Very soft pan left or right.
Best to avoid:
- Sharp zooms
- Fast 180–360 degree fly-arounds
- Strong camera tilt up or down
- Simultaneous camera movement and complex body movement The rule is simple: one main task. Either the camera moves slowly, or the object performs one clear action. When you ask for both at once, the model starts compromising quality.
5. Movement That Looks Truly Alive
The most natural results come not from "beautiful" actions, but from physiologically plausible ones:
- Breathing (chest and shoulders rise slightly)
- Blinking
- Hair barely moving from air
- Fabric softly reacting to movement
- Slight head turn followed by a return of the gaze
- A hand slowly running through hair or along the neck
For sensual content, these work especially well:
- Slow breathing with slightly parted lips
- Slight head tilt back
- Smooth shoulder movement
- Fabric sliding over skin
6. How to Check the Source Before Uploading
Before sending a photo to generation, ask yourself a few questions:
- Is the face clearly visible?
- Is there free space around the model for movement?
- Are hands or legs cropped at the joints?
- Are there heavy overlaps and complex poses?
- Is the light even and natural enough? If the answer to at least one question is "no" — it's better to prepare the photo first (crop, adjust lighting, or choose another frame).
Short checklist of best sources
-
Medium shot (from chest/waist)
-
Torso slightly turned
-
Face well-lit and readable
-
Hands do not heavily overlap the body
-
Relaxed pose
-
Space around for the camera
-
Minimum complex overlaps
Naturalness in image-to-video almost never arises from complex prompts. It arises from the correct initial frame. When the pose, angle, and composition already contain the potential for lively movement, the neural network simply reveals it carefully. When the source is complex or unnatural — no prompts will save it.
In SlyGen this rule works especially clearly: the cleaner and clearer the pose, the more stable the face, the more natural the breathing, and the fewer artifacts. Therefore, before generating video, it is always worth spending a minute evaluating the source. This minute saves both coins and nerves.
Try taking the same face in different angles and compare the results. The difference usually becomes obvious after the first two or three generations.